Home / Handy Tips /

As the saying goes, the best camera is the one you have with you! These days, the quality of your smartphone’s camera probably rivals that of many point-and-shoots – that is, if you know how to use it properly.
If you’re on a mission to take better photos with your phone, we can help. In this article, we’ll share some of our top phone photography tips. You’ll be curating top quality shots in no time at all. Let’s get started.
Make sure your lens is clean

We spend a lot of time handling our smartphones, passing them back and forth, and putting them down on grubby surfaces. This can smudge up the lens, significantly reducing the quality and clarity of your photos.
So, our first piece of advice is to always check your lens for marks and smudges before you start snapping.
Photography is all about the light
What is photography but capturing the moment’s light – whether that be the gentle mid-morning light, the full sunshine of a day at the beach, the low-light of a romantic dinner, or the glow of candles on a birthday cake? So, if you’re wondering how to take better photos with your phone, focus on the light.
Smartphones don’t usually do too well in low light, so try to avoid that if possible. Ideally, the light source should be behind you, the photographer. This will highlight the subject, enhance detail, and ensure your photo really pops.
Here are a few more lighting tips:
- Direct sunlight isn’t usually a great idea, as it can often overexpose a picture. Overcast days are the best for taking photos.
- When taking photos indoors, head to a natural light source such as a window or open door. Artificial lighting can give off yellow or blue tones.
- Don’t use the flash unless absolutely necessary. The flash can wash out your subject while making the background completely black and indistinguishable.
Remember, you’re not working with a limited roll of film. Move around. Take hundreds of pictures. Find the lighting that works.
Check the exposure
Put simply, exposure is the amount of light that reaches the camera’s sensor. Overexposed images are incredibly bright and washed out, because too much light has touched the camera’s sensor. Underexposed photos, in contrast, are very dark.
Here is an example of overexposed and properly exposed photos. See how the cup on the left is bright white?
Now it’s your turn. Open up your smartphone camera and find a scene with both light and dark objects. First, tap on the dark object. Notice how the light objects become overexposed. Then, tap on the light object. The rest of the frame should darken.
Usually, you’ll want to match the exposure to your subject.
Adjust the focal point
Your smartphone camera will select a focal point for you – but you have the power to change it! You can create a shallow depth of field (when the foreground is in focus and the background is slightly blurred or vice versa) by tapping on the object you want to be in focus.
Here’s an example. In the left image, the background is in focus. In the right, the coffee is in focus. Since the coffee is the subject, the image on the right looks much better.
Do keep in mind that adjusting the focus will also change the exposure, so you may need to play around a little to get the balance perfect.
Don’t zoom in
The digital zoom in your smartphone camera essentially crops the image, reducing the photo’s quality and detail level. Check out the example below – the image on the left was zoomed in. Notice the reduced detail, poor lighting, and flatness.
The solution is to move closer to your subject where possible.
A few composition guidelines
Photography is an art form – even if you’re just snapping away on your smartphone. Accordingly, it’s possible to capture interesting images while breaking all of the rules mentioned above. How? By paying close attention to what’s actually in your frame, and carefully designing your photo’s composition.
Here are a few composition guidelines:
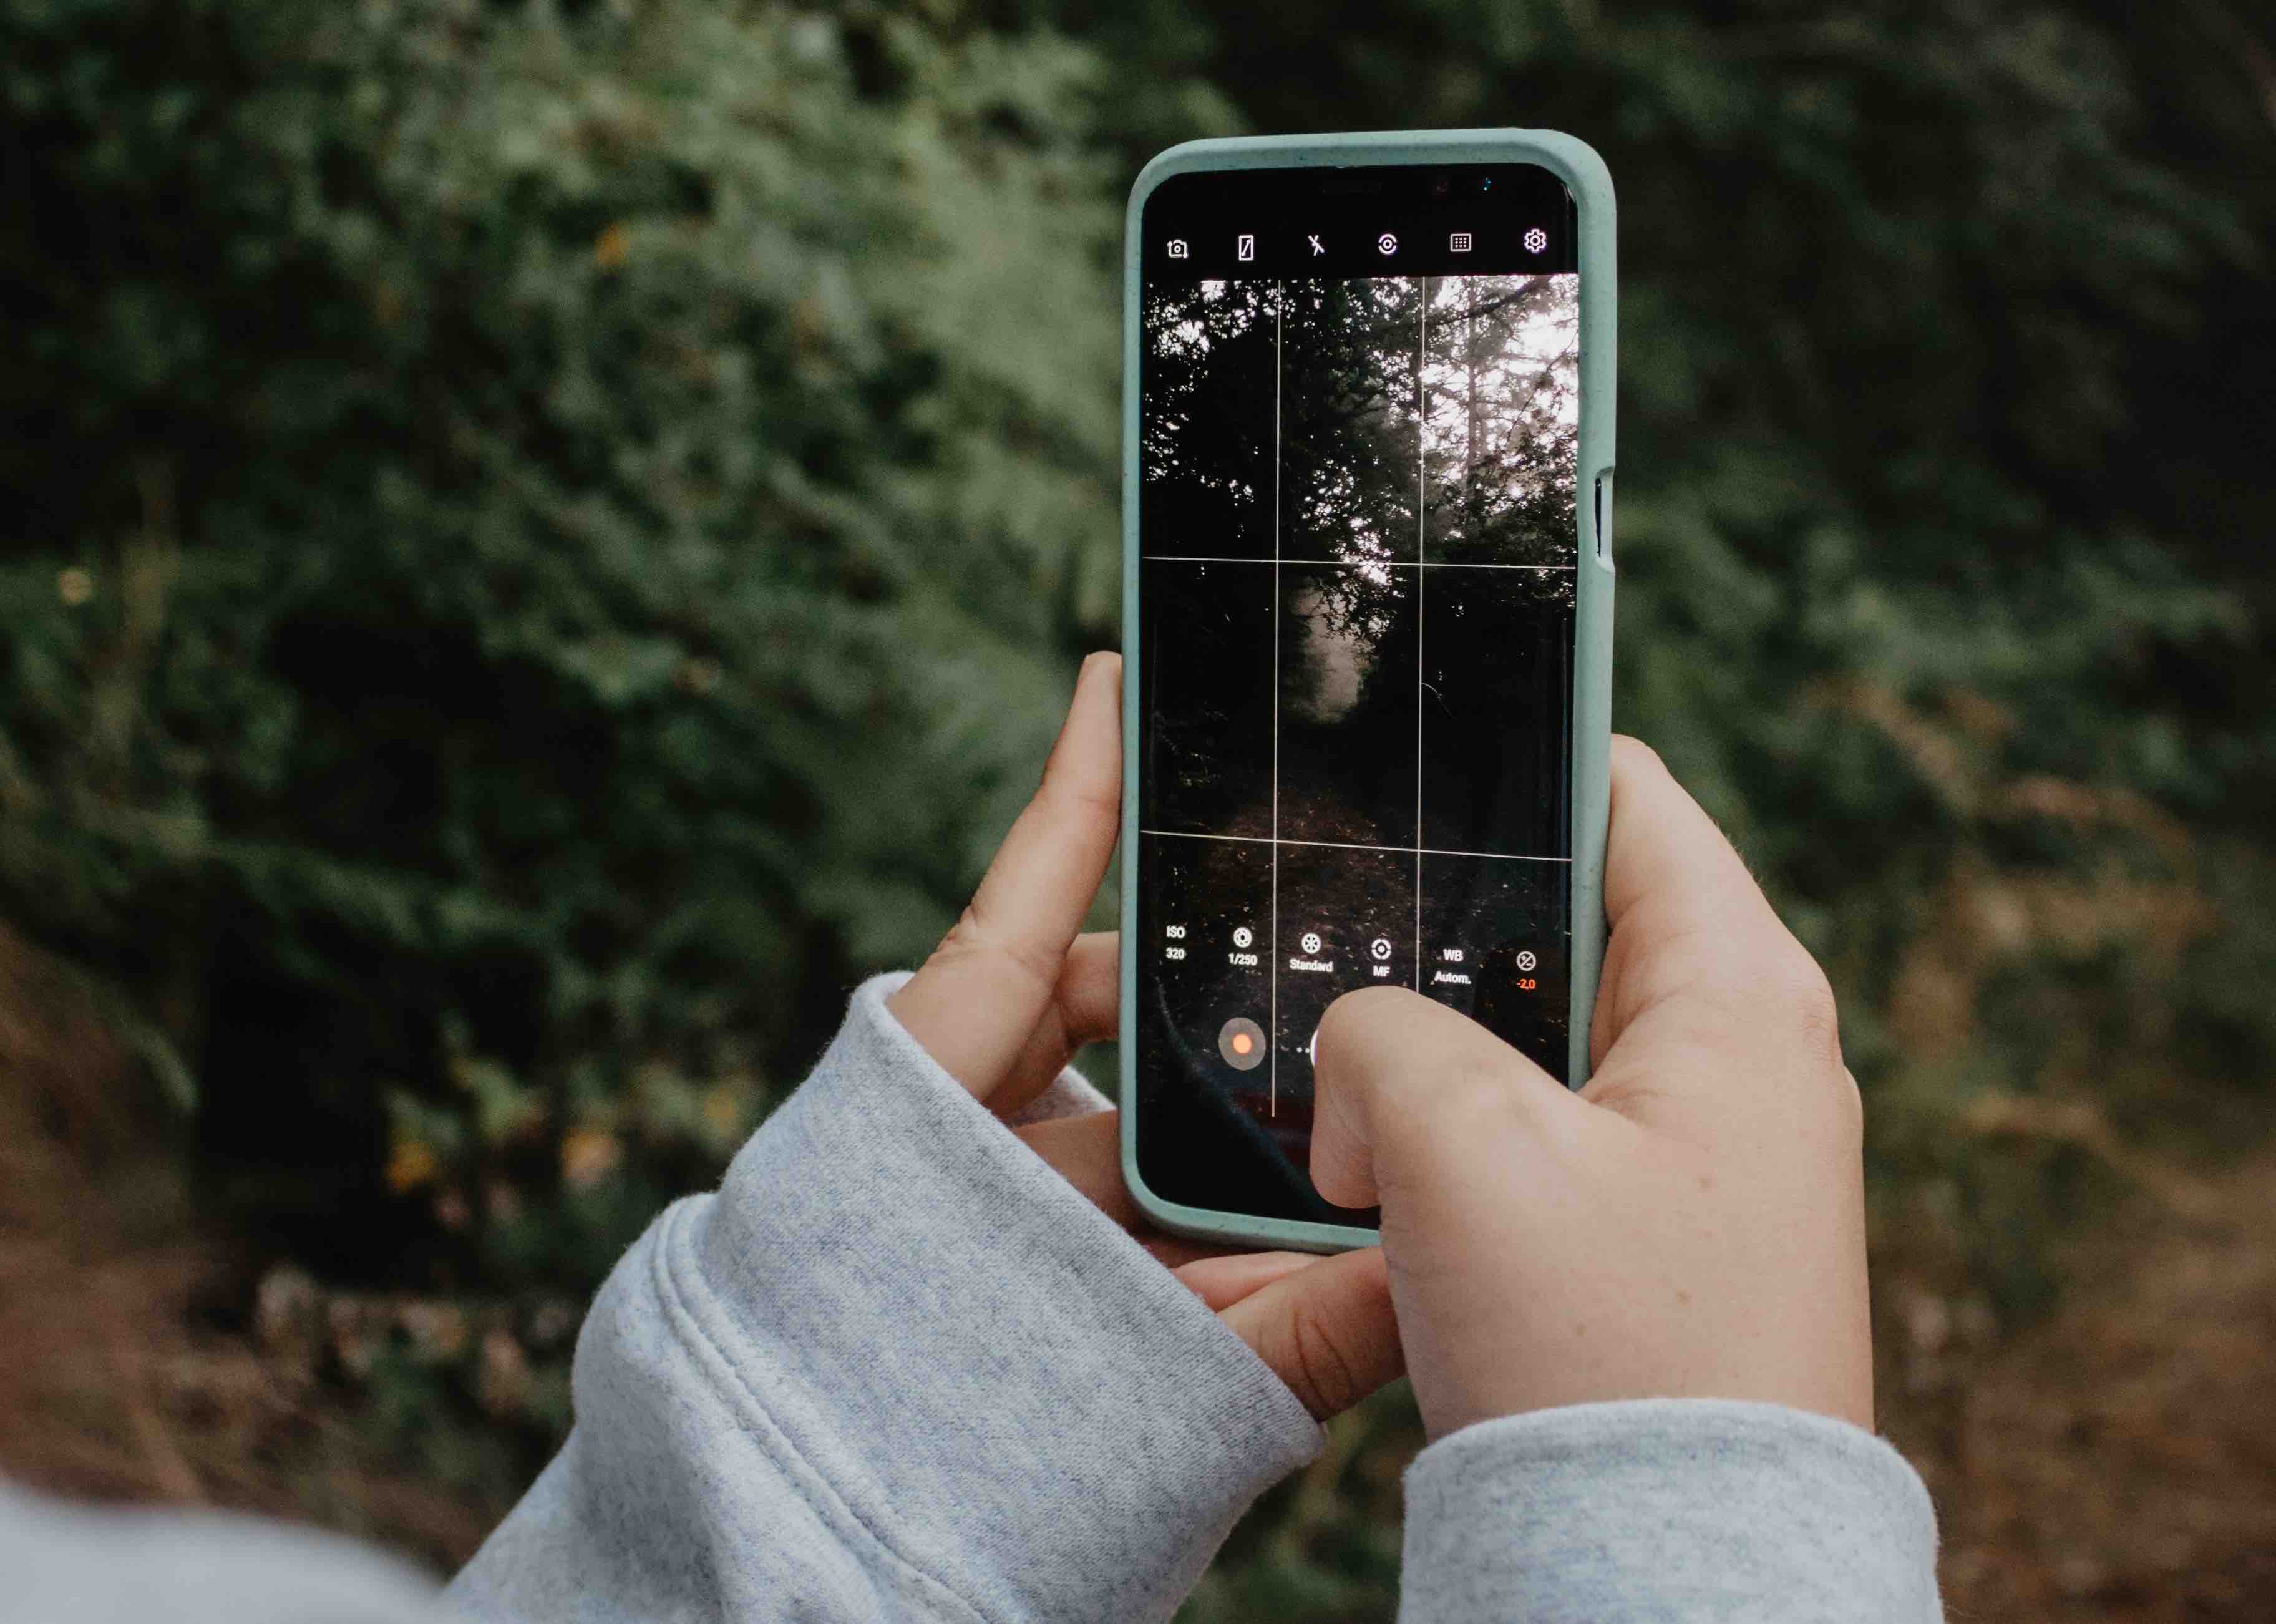
- Think in thirds. Generally speaking, avoid centring your compositions. Divide the frame into a 3 x 3 grid (either in your mind or your smartphone’s camera settings) and use this as a guide. For example, when taking a portrait, try to ensure the subject’s eyes are one-third from the top of the frame.
- Create contrast. This can be juxtaposing colours (if your subject is wearing red, capture them in front of a green background), subjects (something natural paired with something human-made), and textures.
- Experiment with candid shots. Posed photos have their place, but often it’s the candid shots that result in the most interesting compositions.
- Move around. Don’t be afraid to move around your subject and try out a whole range of different compositions.
What to do with all of your photos
Once you learn how to take better photos with your phone, there’ll be no stopping you. The downside is, you could end up with a colossal amount of photos with no real way to organise them. That’s where we can help.
Protect your family memories and artful photographs with a photo organisation system that actually works. Contact us on 1300 553 166 or fill out the form on this page, and we’ll be in contact soon.


Leave A Comment