Home / Handy Tips /

In this article, we’ll teach you how to scan a photo or document on Windows 10. Why? Because, although we are moving toward a paperless society, we’re not quite there yet.
Most of us are required to hand-sign documents and fill out physical forms for work or personal reasons at times. And, once completed, these documents, forms, or photos need to be submitted digitally or via email.
There are two main ways to scan using Windows 10: with a scanner, or with a mobile app. We’ll look at both of these methods in detail.
How to use a scanner on Windows 10

Even in this day and age, scanners are still a popular way to digitise physical paperwork and photos.
If you need to scan documents on a regular basis, or if you’d like to save printed photographs on your computer, we suggest investing in a stand-alone scanner or printer/scanner combo. If possible, stick to the big brands – Canon, Epson, Brother, etc. These will all operate seamlessly with Windows 10’s in-built scan utility.
Once you have purchased a scanner, it’s time to start the process.
Initial setup
First, you’ll need to configure your scanner to Windows 10. Either connect your computer and scanner via USB, or ensure both your computer and scanner are connected to the same internet network.
Then, click the Start button, and type ‘Devices.’ Hit Enter, and you should see a list of connected peripherals, including your new scanner. Double-click, and follow the initial setup prompts.
Scanning with Windows 10’s in-built scan utility
Stick your document into your scanner, and open the scan utility (which can be accessed from the printer context menu).
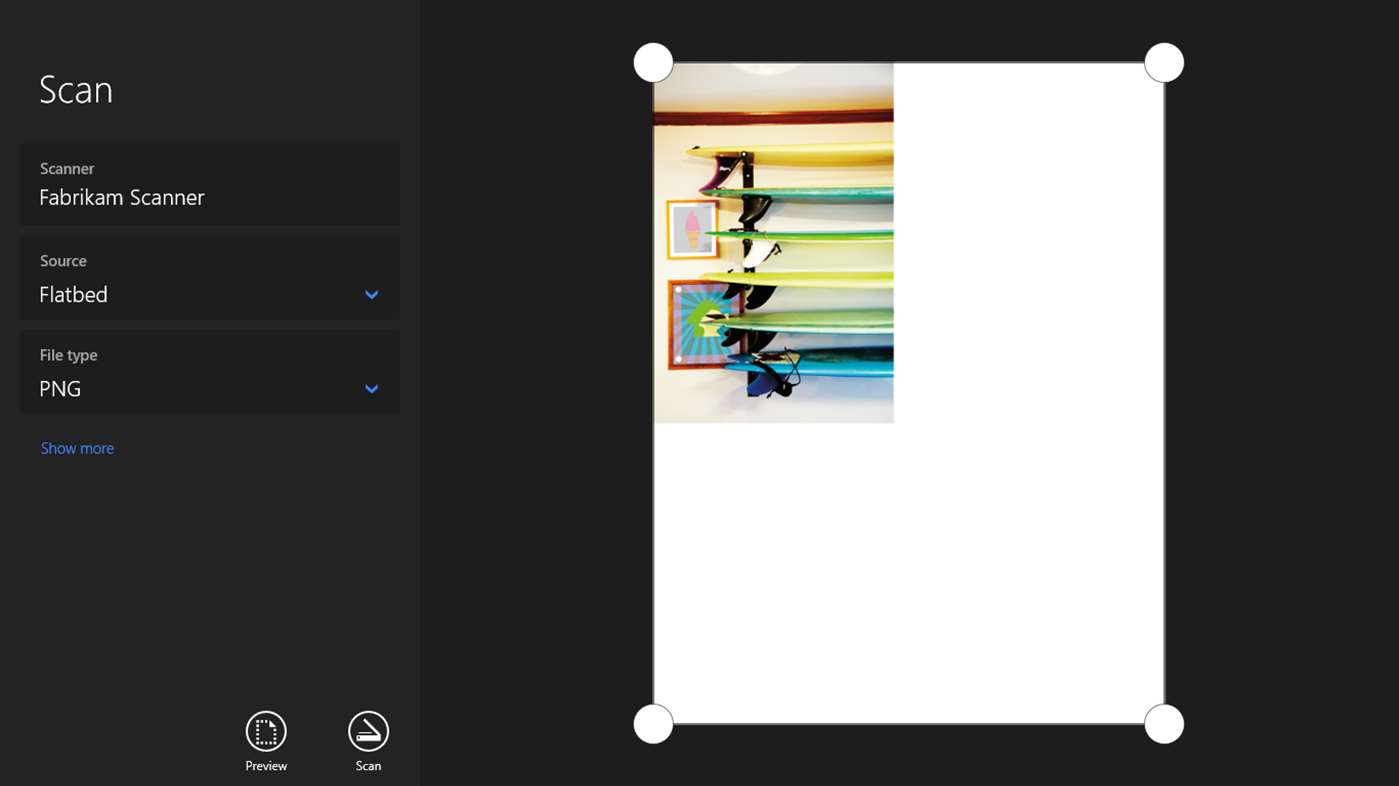
From there, you will see a preview of your document or photo. If you are not satisfied with the way it looks, adjust the brightness and resolution. Then, choose which format you’d like the document or photo saved as (PDF for a document, JPEG for an image, for example).
Once you are happy with the settings, click Scan.
You’ll then see one last preview. If it looks good, hit Scan again.
Give your document or image a name, and click Import. Scanned items are usually sent to the Pictures folder.
How to scan using a mobile app

Don’t own a scanner? No worries. You can use your smartphone or tablet to scan documents and photos.
Microsoft offers a fantastic free mobile app called Office Lens, which is available on both Apple iOS (iPhones and iPads) and Android devices. What’s more, Office Lens is fully integrated with Microsoft Office applications, including Word, OneDrive, and OneNote.
Initial setup
Getting started with Office Lens is super simple.
Head to your app store, and search for Office Lens. Or, click the following download links:
Scanning with Office Lens
Open Office Lens, touch the scanner tab, and select the type of document you want to scan. This will allow the app to optimise its settings.
Hold your device over the document. The app will recognise the document, and create a frame around it. Once you are happy, tap the camera button to capture the image. You can then preview the file, and make any adjustments.
You can then export the document to your photo library, or send it to Microsoft Office applications.
Become the master of your technology
Do you feel like you’re missing out on all the incredible features and functionalities your technology offers? You’re not alone. Here at Computer Cures, we’ve helped many clients become the master of their technology, whether that be their tablet, scanner, or smart TV. If you’d like professional help using your tech, get in contact on 1300 553 166, or fill out the form on this page.


Thanks for sharing this useful tutorial! I’ve been struggling to scan documents on my Windows 10 computer, but after following your steps, it was incredibly easy. The instructions were clear and concise, and I was able to scan my document in no time. Great job!