Home / Handy Tips /

Synology is a brand of NAS storage that we always recommend to home users. These devices are flexible and very user-friendly. In this article, we’ll walk you through the preliminary setup process, from taking the device out of the box to familiarising yourself with the DiskStation Manager interface.
Before we get started, let’s quickly cover what a Synology NAS device actually is.
What is a Synology NAS device?
 An NAS (Network Attached Storage) device is a storage and backup solution that combines the benefits of local, hardware storage and cloud-based storage.
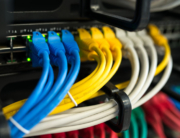
NAS devices are comprised of a collection of hard drives connected to a network. These offer backup and storage solutions, as well as additional software functionalities (media streaming, remote access, printer connection, for example). Learn more about the benefits of NAS devices.
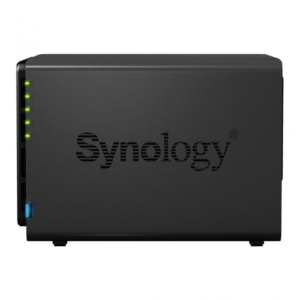
Synology is a brand of NAS devices. Established in 2000, Synology specialises in Network Attached Storage, with two very popular lines of devices: DiskStation and RackStation. DiskStation devices are intended for at-home and small business use, and it’s this line we will look at in detail in this article. RackStation, on the other hand, is designed for larger commercial enterprises.
Starting at around $150-$200 and stretching upwards of $1,000, the DiskStation models cover the needs of every household, from the individual looking to back up their holiday photos, to the family of six looking to store everything and anything.
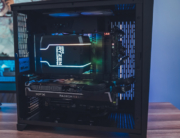
In this article, we’ll look at a mid-range, four-bay DiskStation Synology NAS device.
Step 1: The physical setup
Synology NAS devices come with one or two Ethernet cables, a power cable, drive mounting screws, and, with some higher-end modes, hot-swap drive trays.
Before we plug in the device and switch it on, let’s talk hard drives.
Selecting the hard drives
You will need to add one or more hard drives to your NAS device. For optimum performance, we suggest starting with brand-new drives. Whatever your budget, avoid super-cheap hard drives, and those designed for desktop computers. Buy the best and biggest server drives you can afford.

If you’re not sure what size drives to buy, or are considering mixing different drive combinations, check out Synology’s drag-and-drop RAID calculator. This easy-to-use tool will help you get an idea of the amount of usable space different drives will yield.
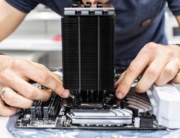
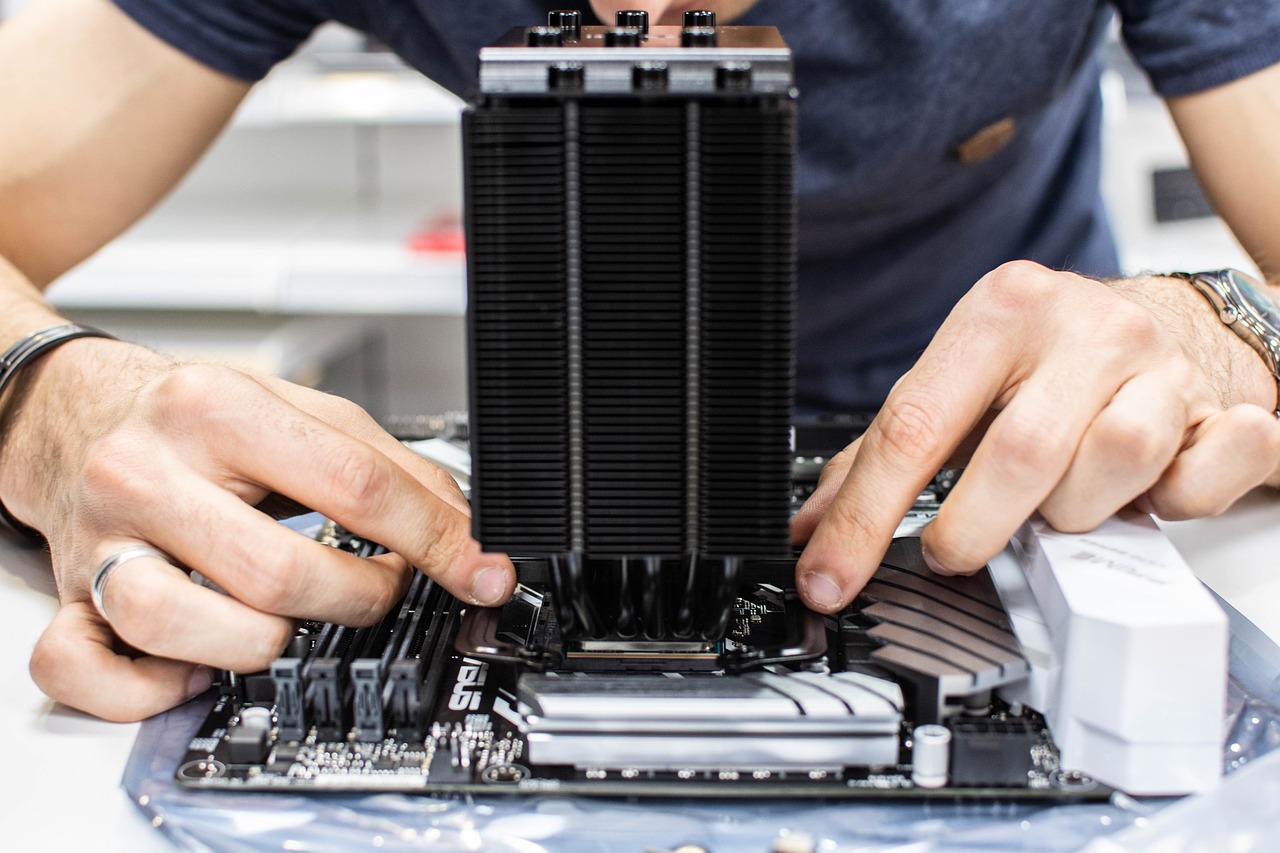
Installing the hard drives
Once you have selected and purchased your hard drives, you can pop them into your NAS device. First, remove the cover by gently wiggling it away from the frame. The cover should come away easily.
Then, using the tabs at the top of each drive bay, push upwards and slide the tray out. Although screws are included with all DiskStation models, you will not need to use them on hot-swap trays. Hard drives are kept secure with rubber grommets on the sides of the trays.
Once you have added all hard drives to your NAS device, slide each tray back into place, and continue with the setup process.
Finding the perfect place for your NAS
Finding the perfect spot in your home for your Synology NAS device is crucial.
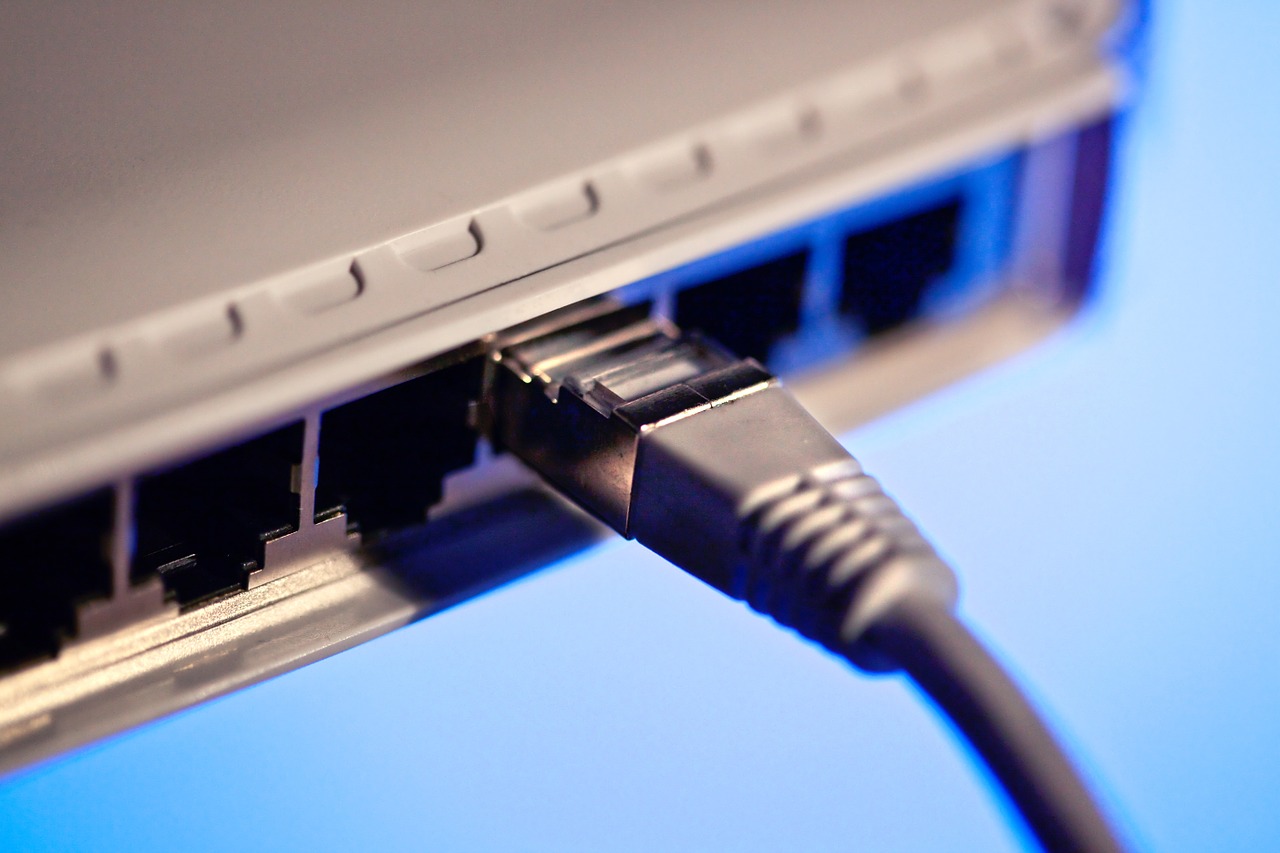
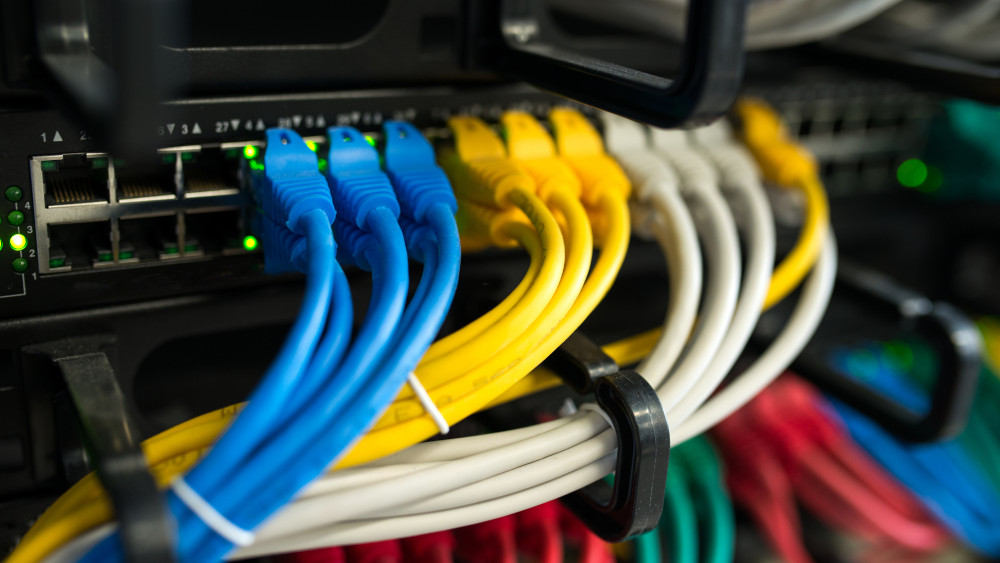
First, consider where your router or network switch is located. You’ll need to connect your NAS device to one of these ports with an Ethernet cable. Then, consider the environment. Ideally, an NAS device should be situated in a cool area of your home.
Once you have decided on a spot, connect your NAS device to the Internet port. Now, it’s time to switch the whole thing on.
Step 2: Configuring your Synology NAS
NAS devices don’t have a keyboard, mouse, or monitor, so when you hit the ‘on’ switch/button, don’t be shocked if nothing happens. The device will boot up very quickly and will most likely sit there silently.
To access and configure your Synology NAS device, head to any computer connected to your local network via an Ethernet or Wi-Fi connection. Open a browser, and visit http://find.synology.com. Click Connect to begin the configuration process.
Naming your NAS and setting the admin
The configuration process begins with naming your NAS device, and setting the admin.
The name of your NAS will appear on your network, and will be listed in various applications. We suggest opting for a short name without spaces, something like ‘storagebox’ or ‘familybackup,’ not ‘A place for all my very important stuff’.
Then, set a username and password for the admin account. These can be anything you want, just make sure you keep a record!
Creating a QuickConnect Synology account

While this step is optional, creating a QuickConnect Synology account will give you access to a whole host of additional features, including file sharing and remote access.
Put simply, QuickConnect is Synology’s free DNS service that gives you access to your NAS device from any internet-connected device via the QuickConnect website (shown in the screenshot above) or an easy-to-remember address: http://quickconnect.to/yourNASdevicename.
After completing or skipping this step, you will be prompted to download a number of core application packages. You can skip this and revisit individual programs later, but we recommend installing them all right away.
Once you have installed or skipped the applications, you are done with the basic configuration process.
Step 3: Getting familiar with DiskStation Manager
You now have access to the DiskStation Manager. On the left-hand-side of the screen, you will see a Start-Button-like menu that will bring up all of your applications, and give you access to three key areas of the DiskStation Manager: Control Panel, File Station, and Package Centre. Let’s take a quick look at each of these.
- The Control Panel allows you to adjust settings for just about everything, from your network configuration to group management. You will also find available updates for your device’s operating system.
- The File Station is where you can access and browse your files, create new files, and organise your storage and backup.
- The Package Centre give you access to your applications, and allows you to install updates, download new apps, and delete apps you don’t use.
Basic setup complete
Now that you’ve setup your NAS device, you are ready to explore installed and available packages, adjust more advanced settings, and start filling up your available storage.
Get help with NAS devices
NAS devices are not as simple to setup as popular cloud-based solutions and external hard drives. But, once up and running, NAS is one of the most reliable and efficient ways to backup and access your important files. If you’d like professional help creating a fool-proof set-and-forget backup strategy, get in contact with the team at Computer Cures. We can help you with all of your computer repairs as well as your home network setup, and data backup service needs. Call today on 1300 553 166 or fill out the form on this page, and we’ll be in touch soon.


Leave A Comment